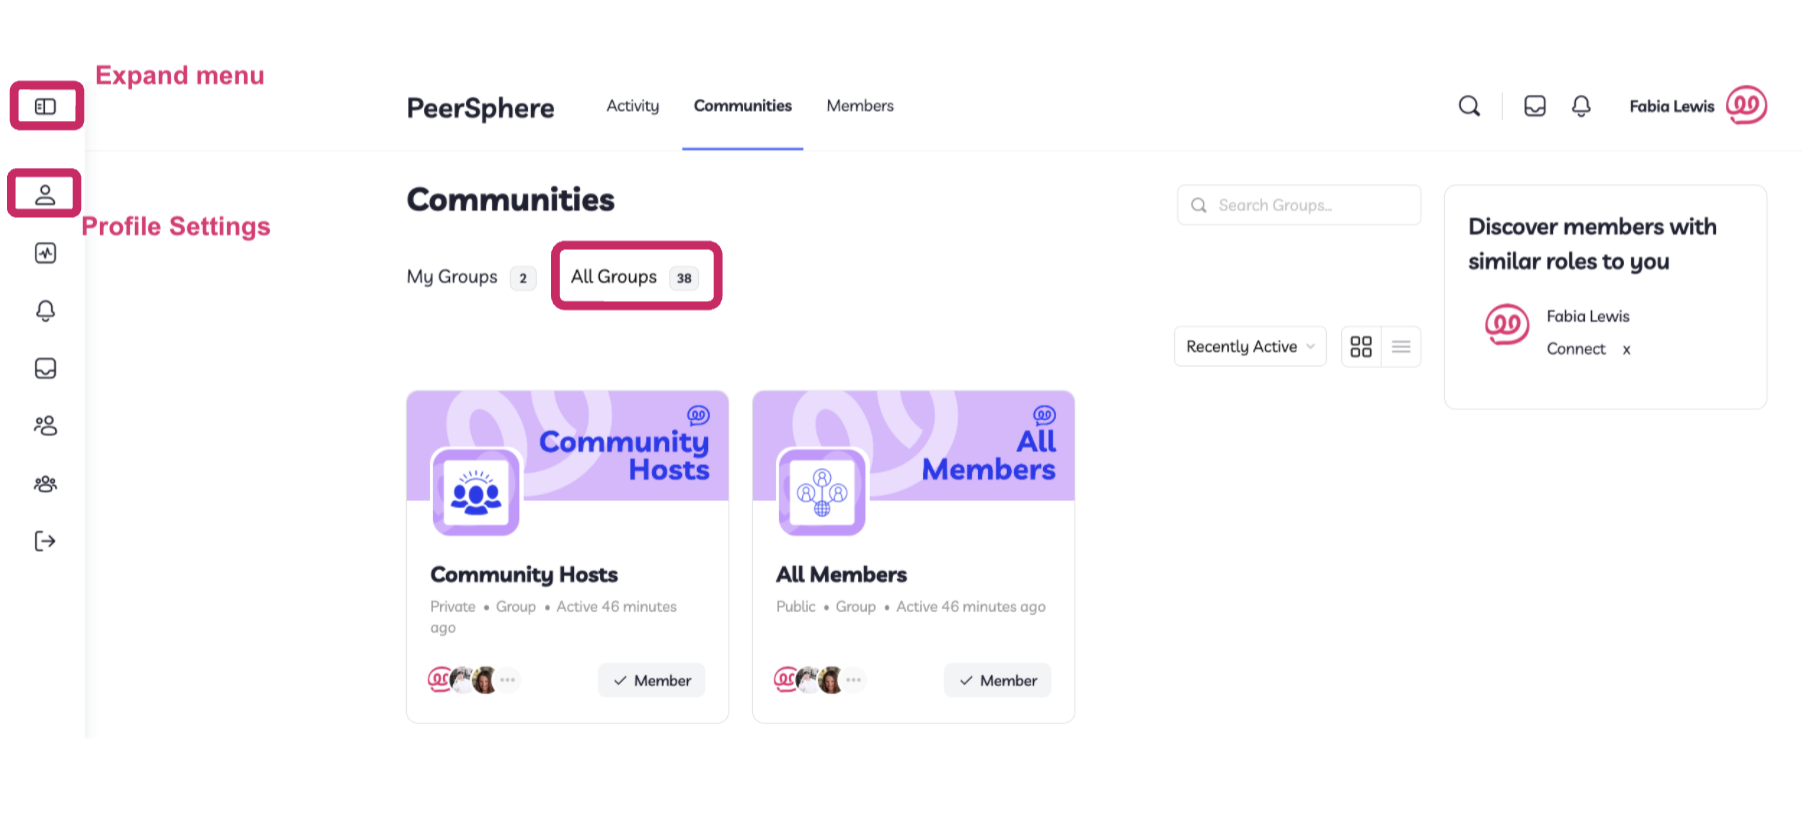
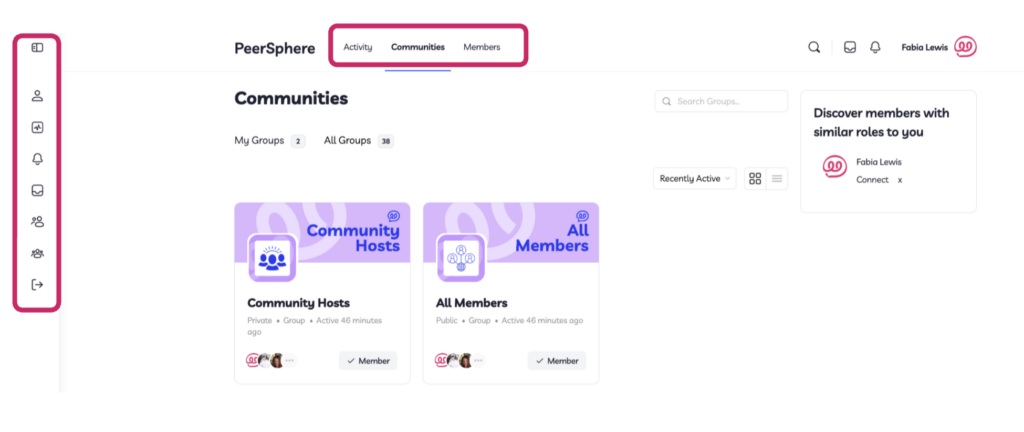
You will start on the All Communities Page where you can see
- The primary community you have already joined
- The [All Members] community that you are automatically a part of
- A recommendations widget on the right which will suggest other members to you based on job role.
- The main menu is on the left and can be expanded.
The following steps are all in this new 1-pager you can share with colleagues.
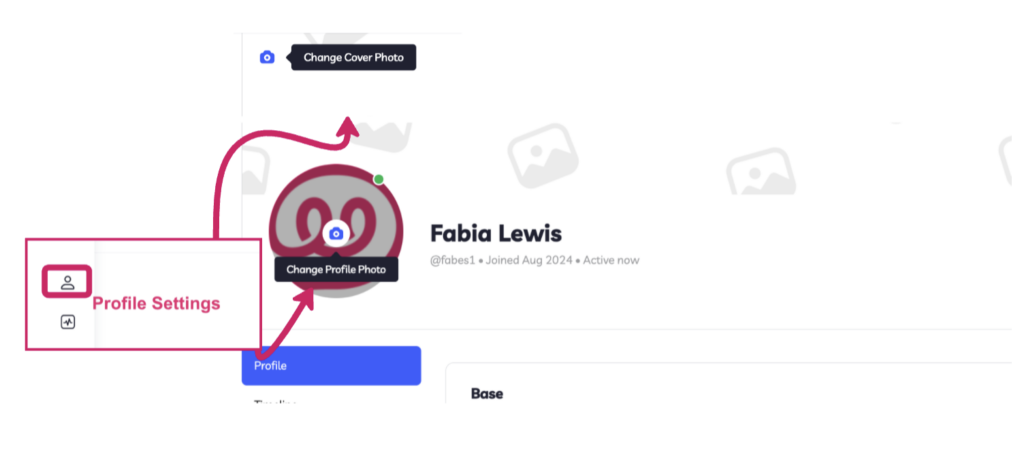
1. Add a profile picture!
- Go to profile settings and personalize your profile with a profile picture. You can also add a cover photo too if you like.
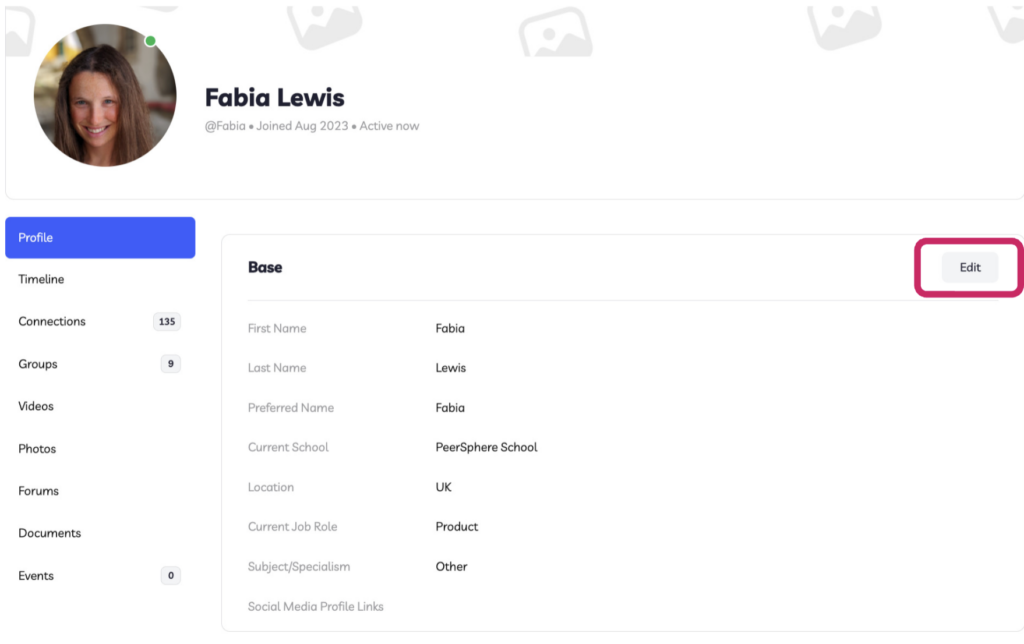
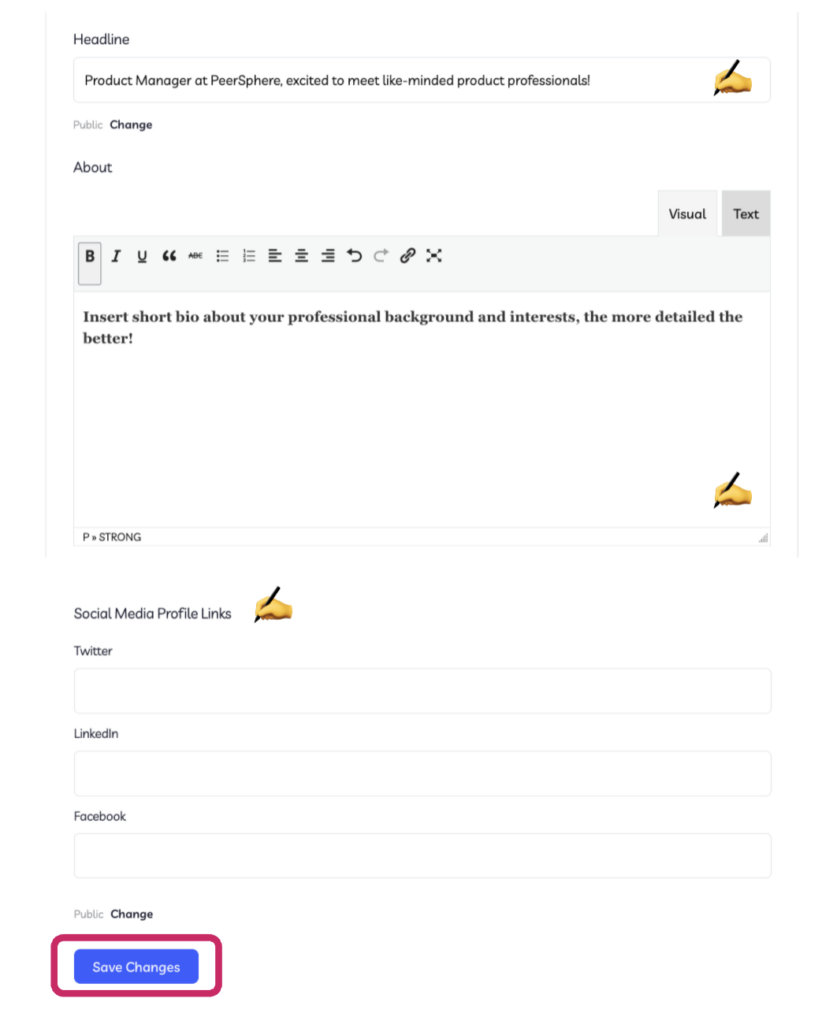
2. Tell us more about who you are in your profile field
- Whilst you are here, click the [edit] button to you can tell us more about yourself, including a headline, longer blurb, and adding your social media links
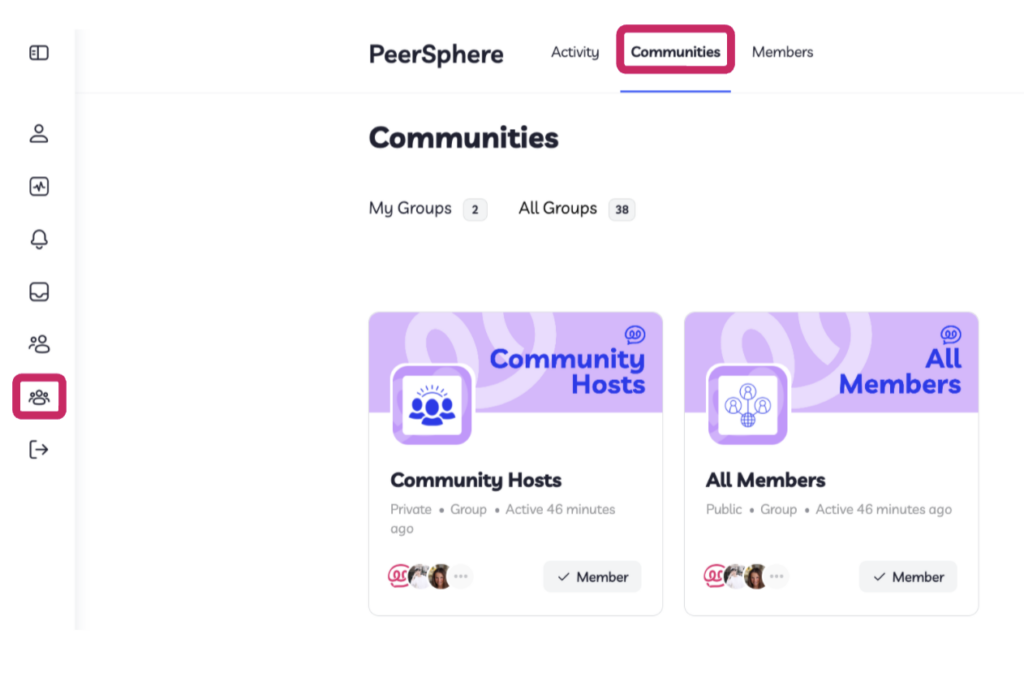
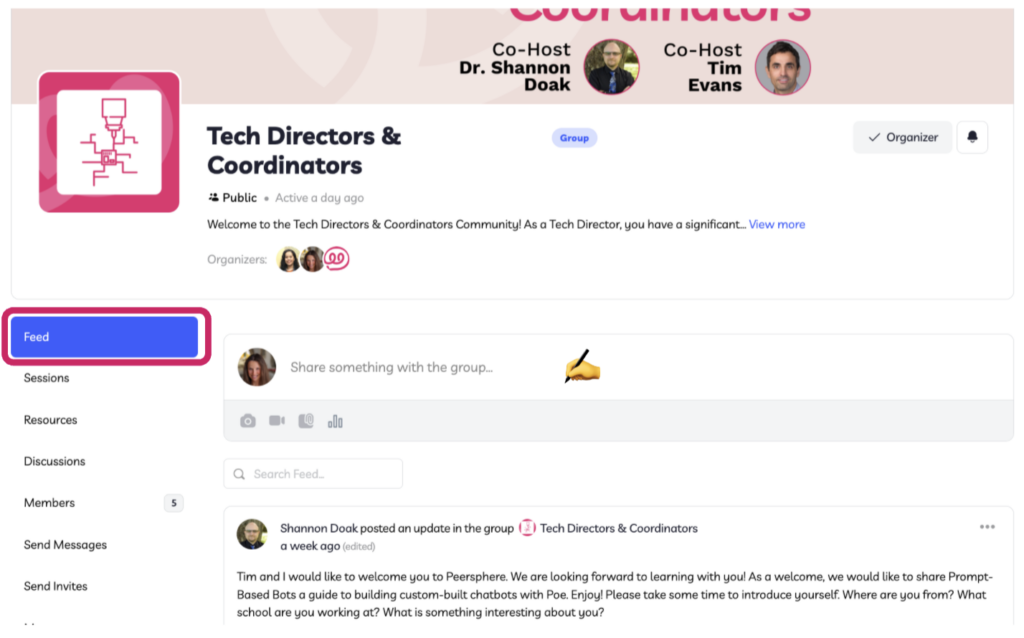
3. Explore your community hub
- Post on the Feed: Share a bit about yourself, your role, and what you hope to gain from this community. You can find your communities through the Communities button in the top menu, or the Groups button in the left side menu.
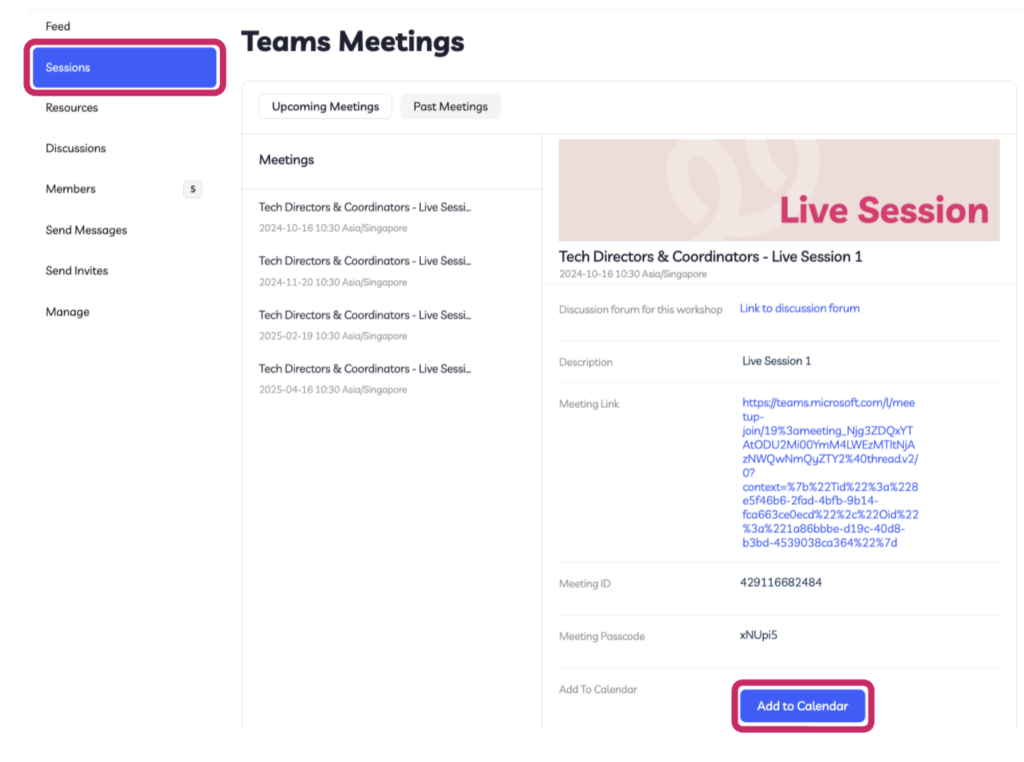
4. Calendar Live Sessions + RSVP
- Make sure you don’t miss out on our live sessions. Add the dates and times to your calendar from the [Sessions tab]
5. Complete the welcome survey for your community
- Your input is invaluable for your hosts to make the live sessions as impactful as possible. Please take a few minutes to complete our initial survey
- This can be found in your welcome email for each community you join, and the respective community feed.
There are 2 key menus inside PeerSphere that you can use to navigate to where you need to get to.
- The top horizontal menu shows you the parts of PeerSphere that are shared with all users, such as all communities and the directory of all members.
- The left side vertical menu has sections that are specific to you, such as your profile information and your documents and joined communities.
- The SAM Dashboard is where you can share the Activation Link (sign-in URL) with your school colleagues and check their engagement throughout the year.
How to get to the SAM Dashboard:
- Go to the top right corner and click onto your name.
- Click onto Memberships:

Activation URL:
You will then see the sign-in URL which can be shared with your colleagues to create their individual accounts. (This is the same link as the one you received in your account activation email):
Note: The sign-in URL is unique to your school account and should only be shared with staff members in your school.
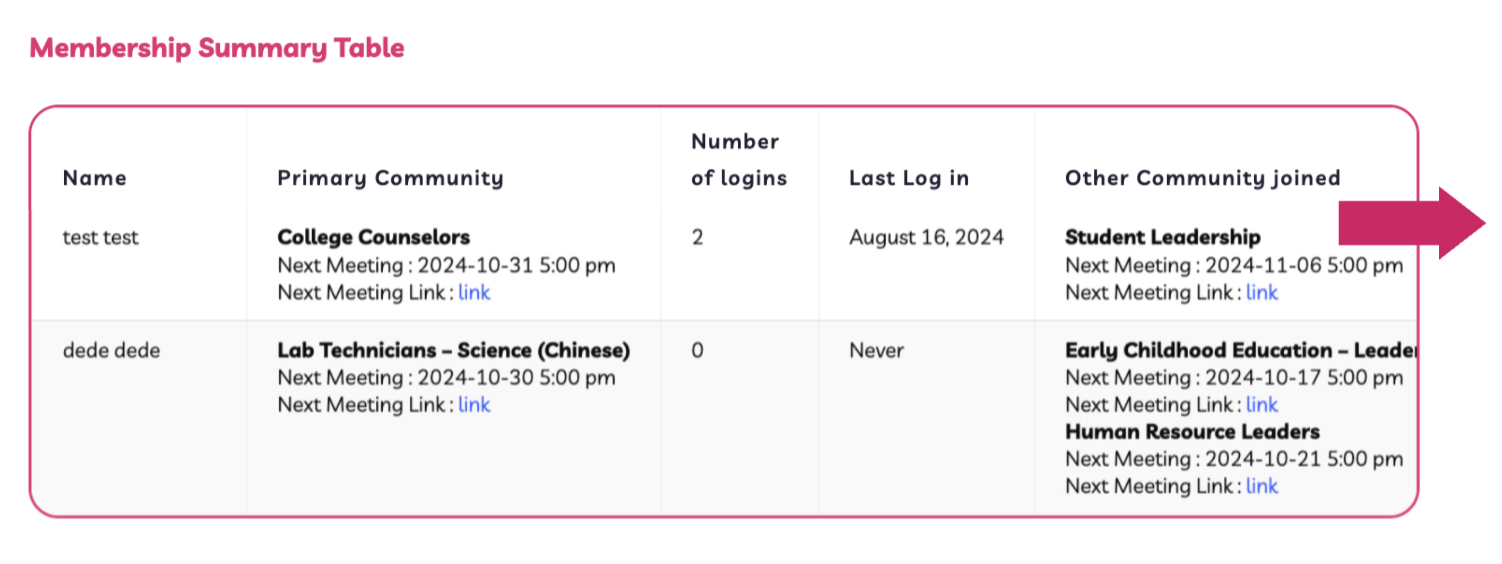
Membership summary table:
Once the first person from your school activates their account, you will see their details in a dashboard called Membership Summary Table on the same page.
Tips:
- Scroll to the right to see more information:
- You can also press the download button to download this table as a CSV to your device.

How to sort SAMs Dashboard by date of next session:
- Click Membership
- Sort by Upcoming Live Sessions
Members summary table:
Once the first person from your school activates their account, you will see their details in a dashboard called Membership Summary Table on the same page.
Tips:
- Scroll to the right to see more information:
- You can also press the download button to download this table as a CSV to your device.
How to sort SAMs Dashboard by date of next session:
- Click Membership
- Sort by Upcoming Live Sessions
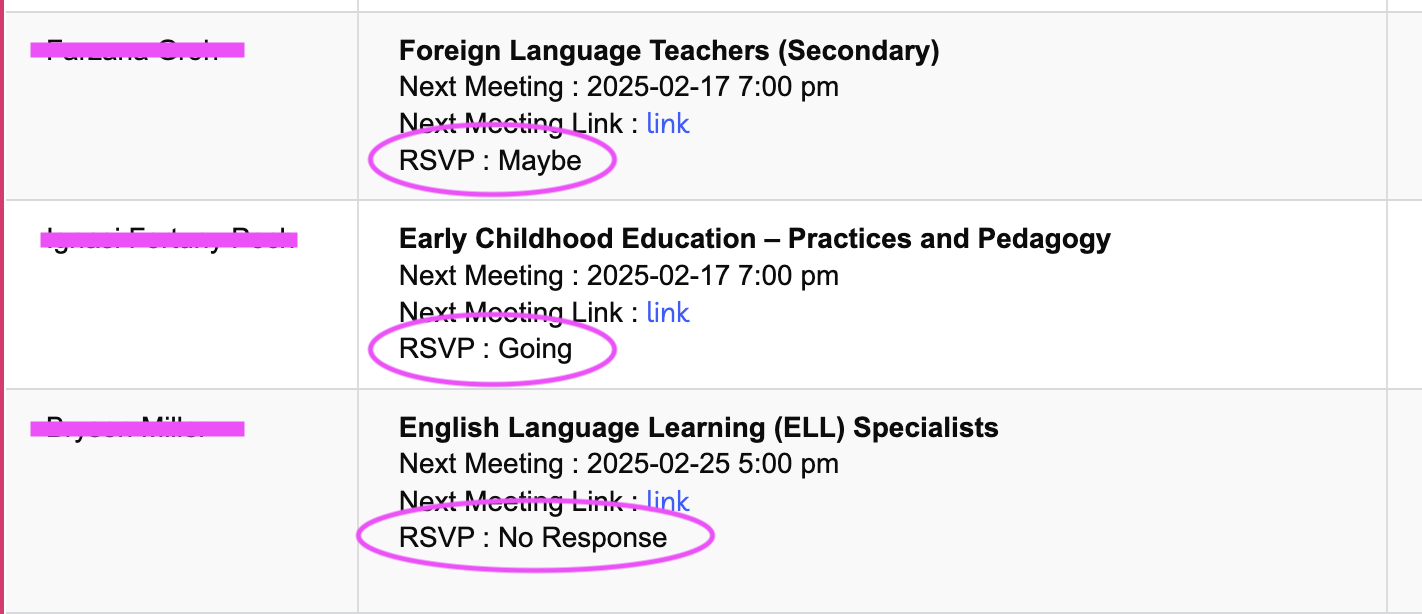
Check RSVPs for Upcoming Sessions:
You can now quickly see who is planning to attend their next live session:
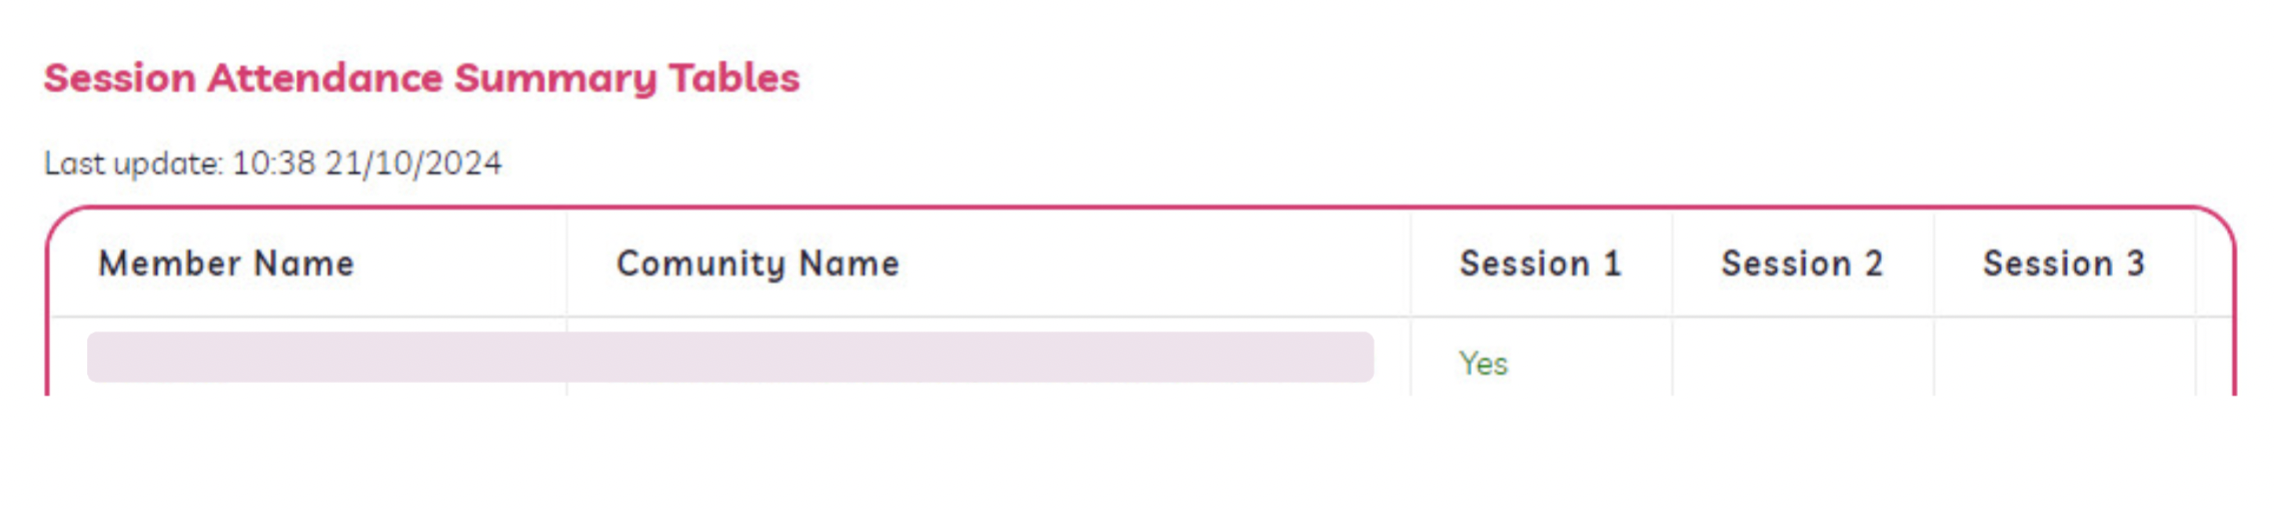
Attendance summary table:
At the bottom of the page, you can see the Session Attendance Table.
This allows you to easily see whether your members attended a session live, via recording, or did not attend. If your colleague has joined multiple communities, they will have a row in the table for each community.
Note: Each round of live sessions takes place over several weeks across all our communities. The dashboard shows you when it was last updated, and we aim to populate the data for each session 3 days after that session took place. However remember it will take a while for all of the data to be populated for your members, depending on which communities they have joined.
You may wish to review the notification settings for your PeerSphere account, especially if you join more than 1 community!
This is found here in the top right of your screen: